1 – The masking tape itself may have caused you some issues. I learned from a professional model builder that you should never use the 2 outside edges of the tape to define the paint border. The tape always has a reasonably rough edge which is covered with dust and other stuff that stick to the tape roll on its sides. To not use those edges, we have to create a new one. I buy a slightly wider tape (10mm), roll down a sufficient long section and stick it on a clean lexan or ABS board. Then I cut the tape in half and create two long stripes with a sharp and clean edge for masking. This way you will reach sufficient results nice side effect and double our tape live.
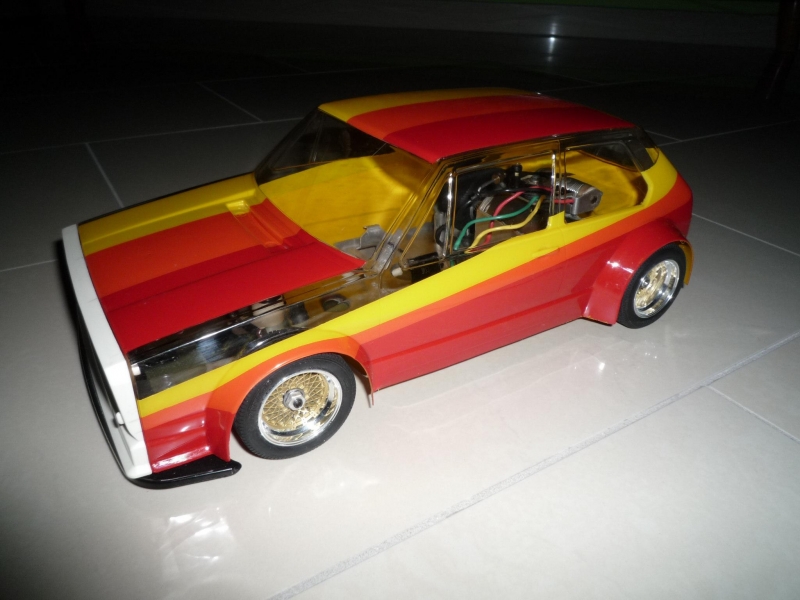
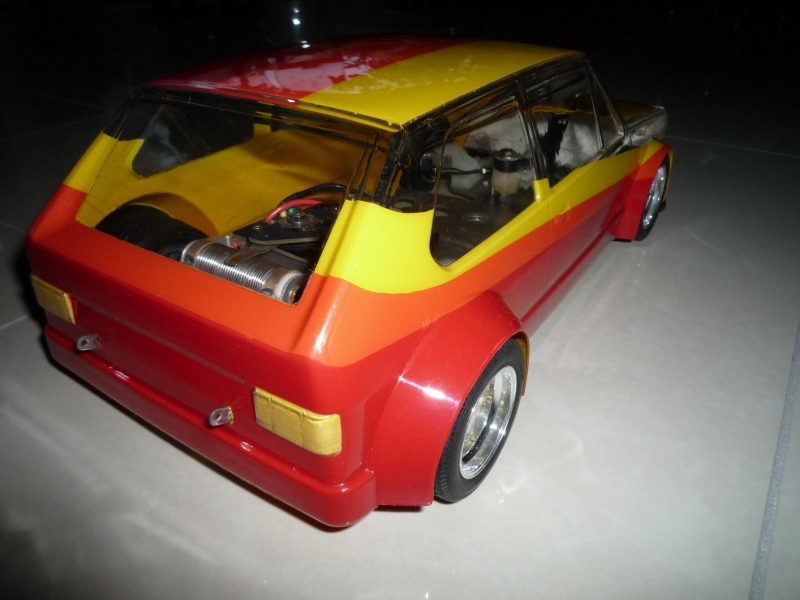
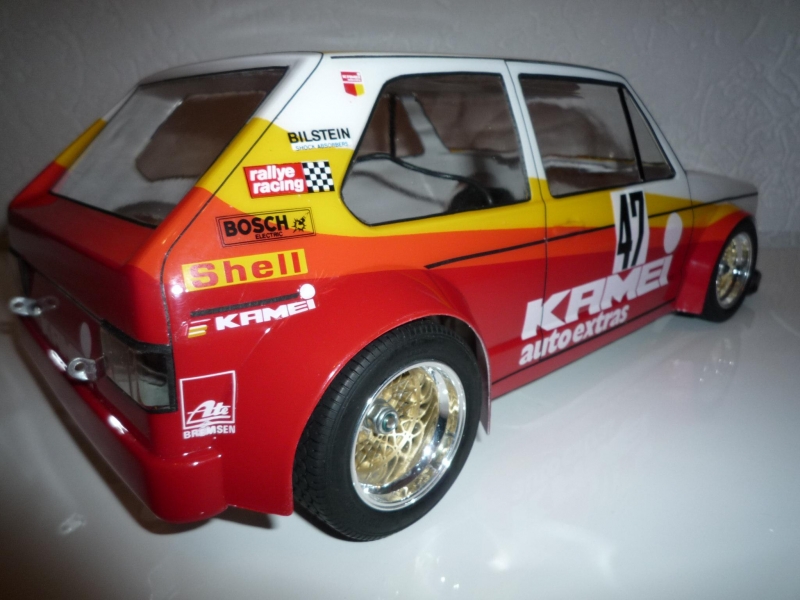
2 – In the event of a gradation of colors, we must begin with the darkest color to brightest colors.
3 – I always heat up the spray-can (or airbrush paint) by putting it on the radiator in my hobby room for 2 hours. This ensures more even mixing of components inside the can (e.g. metallic sprays) and the warm paint can faster evaporate the solvents once landed on the surface. The quicker binding and drying paint reduces tremendously the risk of bleeding and running. During summer period, a pot of warm (not hot!) water does the trick as well.
Another side effect is that the warming of the spray can does increase the internal pressure of the aerosol and this reduces dripping of the can towards its end (thick spots of paint coming out).
4 – I always apply one fine layer of color which supposed to ‘seal’ the masking tape. Once this first layer has dried, the risk of bleeding is down to 0 if your masking tape sticks to the body all along the edges. I always run along the critical edge with the backside of my thumbnail or a similar plastic piece which should not have a sharp edge to avoid tearing the tape.
5 – Put the freshly painted shell upside down on the radiator, so the shell itself warms up which reduces the drying cycle between two layers of coat. This makes your paint process more effective.
You can warm your shell even before painting it, which again supports a faster drying process reducing the risk of running or bleeding paint.
6 – In any case, should you face some minor bleeding, it does not hurt to sensitively scratch off the paint from the lexan using an Ex-acto knife. Yes, the lexan will get matt at this area, but since this is from the inside it does not hurt as long as you paint it afterwards with another color.
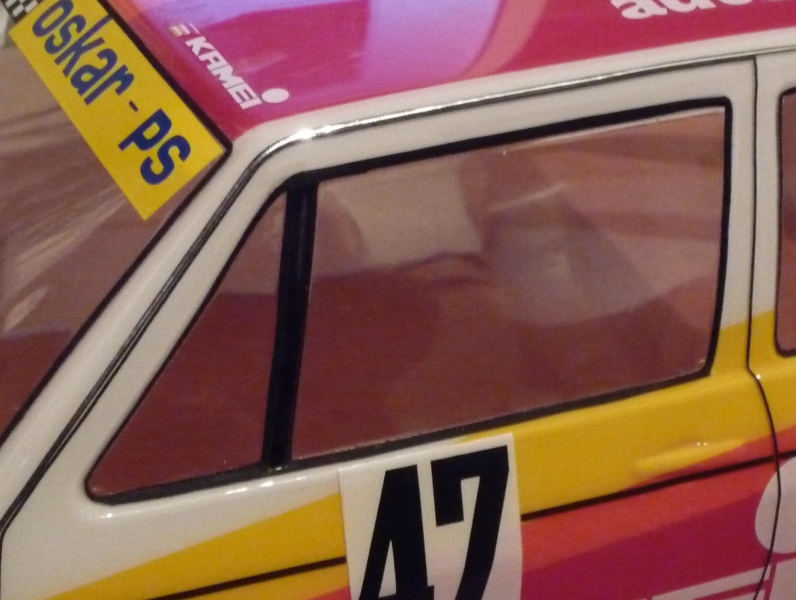
7 – To ensure a sharp border to the windows, I always use small black tape stripes to make body lines and window seals. This gives the car a much more realistic look.
8 – Small punctual repairs can be done if you spray some paint in the lid of the spray can and use a brush to apply the lexan paint locally. But be careful: you may face slight color differences between spray or brush for the same paint after drying – effect by the type of application I guess.
9 – Sometimes it may be easier not to apply the masking tape along the desired border of the color. If the geometry is too difficult, first over-cover some of the area supposed to be painted with tape as well, then cut the desired geometry in the lexan and peel off the surplus tape. This works well in edges and hard corners which are beyond the tapes flexibility. The scratch from the cut in the lexan won’t be visible after painting. You may want to draw the desired geometry with a pen first so you can erase it if it does not suit your desired shape. Follow the pen with your knife and voila!
10 – For small chrome details, use a “micro line” Special chrome.
My last advice is to be patient, do not rush!
Matthias Schaub, DEUTSCHLAND.
About US
1 comment on “10 Tips to succeed with paint on lexan”
Book-marked, I love your blog! :)